 Pin it
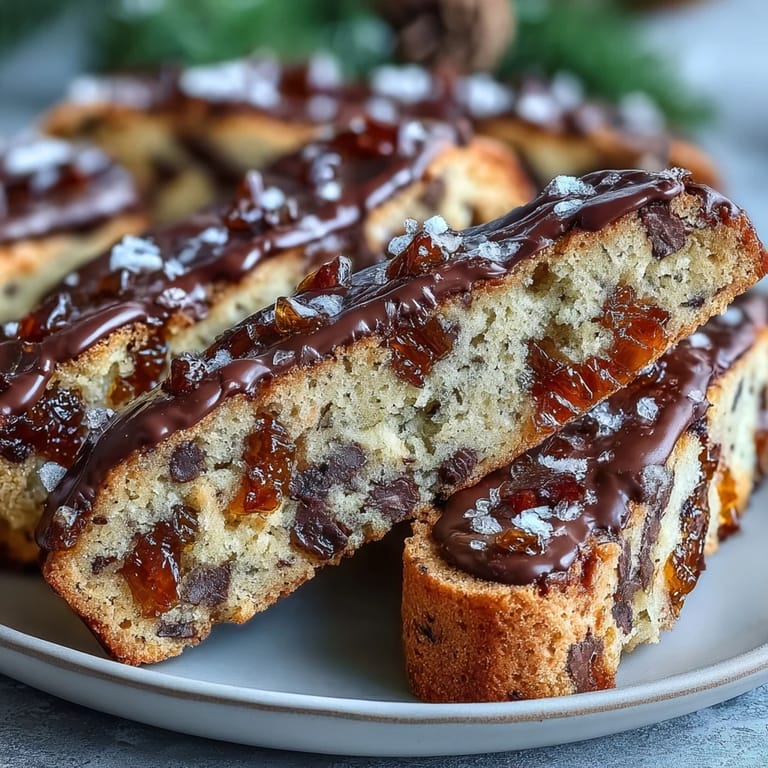
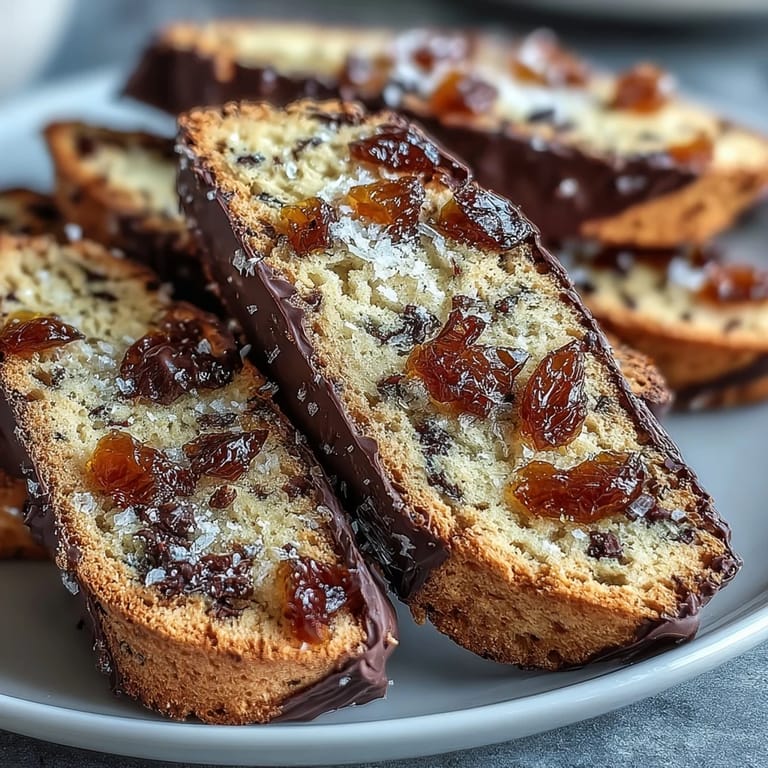
 My aunt used to keep a tin of biscotti on her kitchen counter in Naples, and I'd sneak one every time we visited, dunking it shamelessly into her espresso until it softened just enough. Years later, I tried making them myself and realized these twice-baked cookies weren't just a nostalgic treat—they were a puzzle I actually wanted to solve. The candied orange peel and dark chocolate combination felt like capturing sunshine and richness in one crisp bite, and after a few batches, I finally understood why she guarded that tin so carefully.
I made these for a dinner party last winter when a friend arrived looking stressed about a presentation she had to give the next morning. I set a plate of warm biscotti on the table with some strong coffee, and watching her take that first dunk and then just pause—like something clicked—reminded me that the best part of baking isn't always the eating, it's the moment someone realizes they needed exactly this.
Ingredients
- All-purpose flour (2 cups): This is your structure; don't be tempted to sift obsessively, just whisk it gently to incorporate air without overdoing it.
- Baking powder (1 1/2 teaspoons): The secret to that tender crumb before the second bake—use fresh powder, as old baking powder can betray you.
- Salt (1/4 teaspoon): A small pinch that makes the chocolate and orange sing instead of whisper.
- Eggs (2 large): They bind everything and create that slightly airy structure; room temperature eggs mix more smoothly than cold ones.
- Granulated sugar (2/3 cup): Beat this with the eggs until it looks pale and fluffy, which takes longer than you think but makes a difference.
- Unsalted butter (1/4 cup, melted and cooled): Melted butter creates a denser, more tender texture than creamed butter in this case, and cooling it prevents scrambled eggs.
- Vanilla extract (1 teaspoon): Pure vanilla deepens the flavor without competing with the citrus and chocolate.
- Orange zest (1/2 teaspoon): Freshly grated zest is fresher and brighter than bottled; a microplane makes it almost effortless.
- Candied orange peel (3/4 cup, finely chopped): The star ingredient that gives these cookies their personality—homemade is superior if you have time, but quality store-bought works beautifully.
- Dark chocolate (3/4 cup, 60-70% cocoa): Chop it roughly so you get chocolate chunks throughout rather than a uniform sweetness; darker chocolate balances the candied peel's sugar.
Tired of Takeout? 🥡
Get 10 meals you can make faster than delivery arrives. Seriously.
One email. No spam. Unsubscribe anytime.
Instructions
- Prepare your workspace:
- Preheat the oven to 350°F and line your baking sheet with parchment paper so the dough doesn't stick and cleanup is minimal. Think of this as giving yourself permission to focus on the baking, not the scrubbing later.
- Mix the dry foundation:
- Whisk together flour, baking powder, and salt in a medium bowl until they look evenly combined. This prevents lumps from hiding in your final dough.
- Cream the eggs and sugar:
- Beat the eggs and sugar in a large bowl for 2-3 minutes until the mixture becomes pale and slightly fluffy—you'll notice it changes texture and looks almost mousse-like. This trapped air makes the first bake tender.
- Bring it together:
- Whisk the cooled melted butter, vanilla, and orange zest into the egg mixture, then gently stir in the dry ingredients until just combined. Don't overmix; a few flour streaks are better than a tough dough.
- Add the stars:
- Fold in the candied orange peel and chopped dark chocolate with a rubber spatula, being gentle so you don't deflate all that airy lightness you just created.
- Shape the logs:
- Divide the dough in half and shape each half into a 10-inch long, 2-inch wide log on the parchment paper with floured hands. They should look rustic, not perfect.
- First bake:
- Bake at 350°F for 25 minutes until the logs are golden on top and feel firm when you gently press them. They'll still be slightly soft inside, which is exactly right.
- Cool and slice:
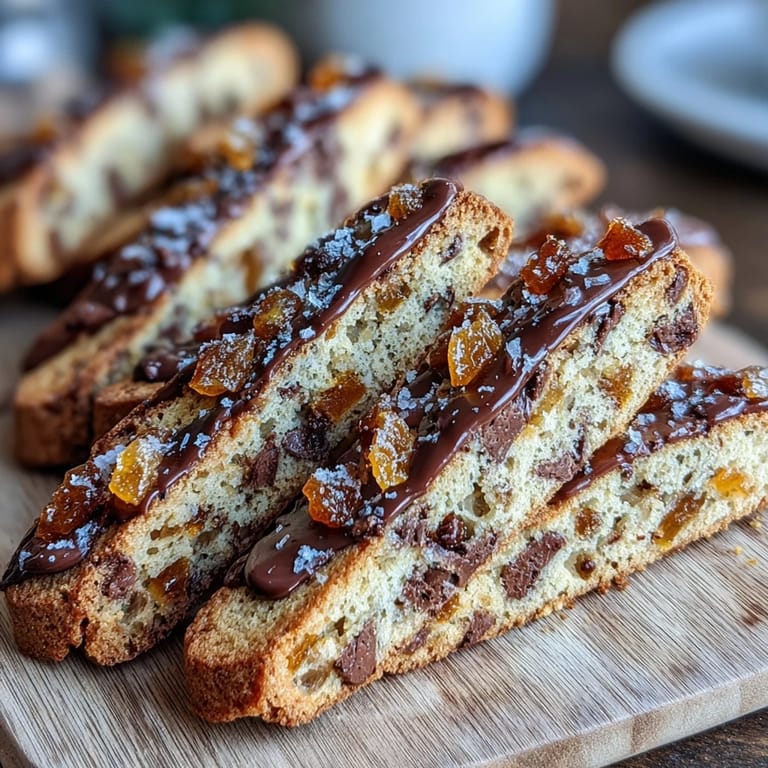
- Let the logs cool for 15 minutes—this firms them up and makes slicing less crumbly—then use a sharp serrated knife to cut diagonal slices about 3/4-inch thick. The angle makes them look more elegant and exposes more surface area for the second bake.
- Second bake:
- Lower the oven to 300°F, arrange slices cut-side down, and bake for 12 minutes, then flip each biscotti and bake for another 10-12 minutes until they're completely dry and crisp. You'll hear them crackle slightly when you bend one, and that's when you know they're done.
- Cool completely:
- Transfer to a wire rack and let them sit until they're room temperature and fully hardened. This is when they develop their signature snap.
 Pin it
 There's something almost meditative about the second bake—watching those slices transform from soft cookie into something shelf-stable and crunchy. My kitchen smelled like burnt sugar and chocolate for hours afterward, which sounds unpleasant but actually felt like proof that something real had happened there.
The Magic of Candied Orange Peel
Candied orange peel isn't just a decorative ingredient; it's a flavor amplifier that makes everything around it taste more interesting. The bitterness of the peel, the sweetness of the candy coating, and the way it softens during baking creates pockets of complexity that dark chocolate was born to accompany. If you've only encountered orange in chocolate as a thin coating or an extract, this is where you discover what orange actually tastes like.
Dunking Philosophy
Biscotti were invented for dunking—their architectural integrity actually requires a liquid partner to become what they're meant to be. The first dunk gives you a crispy exterior with a softened interior, and timing is everything; too long and they fall apart, too short and they're still brittle. But here's the secret: the moment you dunk a biscotti into something warm, the oils from the chocolate and the oils from the candied peel bloom, releasing flavors that don't exist in the dry cookie.
Storage and Variations
These biscotti improve slightly as they sit—the flavors meld and the texture becomes even more refined, so making them a few days before you want to serve them is actually a gift to yourself. An airtight container protects them from humidity, and they'll stay crisp for up to two weeks, though they rarely last that long in my kitchen.
- For extra indulgence, dip one end of each finished biscotti in melted dark chocolate and let it set completely, which adds both flavor and a little ceremony to serving.
- Substitute candied lemon peel for a different citrus note that's brighter and more tart.
- A drizzle of white chocolate on top creates visual contrast and a different flavor dimension if you want to experiment.
 Pin it
 These biscotti bridge the gap between homemade and bakery-quality in a way that feels almost like cheating, except you did all the work. Once you've made them once, you'll understand why my aunt guarded that tin so carefully.