 Pin it
 I discovered these bagels by accident on a Tuesday morning when I realized I had Greek yogurt that was about to expire and self-rising flour sitting in my pantry. My usual bagel run to the bakery felt unnecessary, so I decided to experiment right there at home. What emerged from the oven twenty minutes later surprised me—chewy, tender bagels with that perfect golden crust, all without a single packet of yeast or hours of rising time. It felt like I'd stumbled onto a kitchen secret that had been hiding in plain sight.
The first batch I made for a weekend breakfast with my neighbor taught me something valuable about these bagels. She arrived with her kids expecting toast, and when I pulled the warm bagels out to cool, their eyes lit up in that way kids do when something smells genuinely good. We split them with cream cheese still softening on the counter, and watching my neighbor take that first bite—the little sigh she made—that's when I knew this recipe was going to rotate into my regular breakfast lineup.
Ingredients
- Self-rising flour (1 cup / 130 g): This is the magician's ingredient here; it already contains leavening agents, so your bagels puff up beautifully without any yeast or waiting time.
- Greek yogurt (1 cup / 230 g, full-fat or low-fat): Full-fat yogurt gives a richer, more tender crumb, but low-fat works just fine and still delivers that signature chewiness.
- Large egg (1 whole): The egg wash is what creates that glossy, golden-brown exterior that makes your kitchen smell like a professional bagel shop.
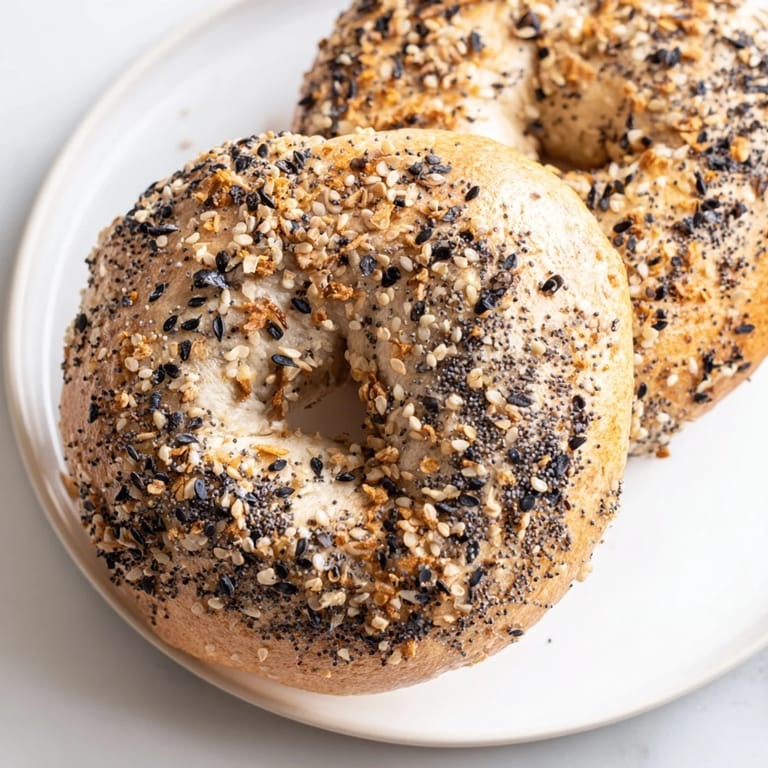
- Everything bagel seasoning (2 tablespoons): Don't hold back here; generously coat each bagel so every bite has that savory, seeded flavor you're after.
Tired of Takeout? 🥡
Get 10 meals you can make faster than delivery arrives. Seriously.
One email. No spam. Unsubscribe anytime.
Instructions
- Heat your oven and prepare the workspace:
- Set your oven to 375°F and line a baking sheet with parchment paper so your bagels don't stick and release easily once they're golden.
- Combine flour and yogurt:
- Pour the self-rising flour and Greek yogurt into a bowl and stir until a shaggy dough forms—it should look rough and barely held together at first, and that's exactly what you want.
- Knead gently into smoothness:
- Turn the dough onto a lightly floured surface and knead for just 2–3 minutes until it becomes smooth and stretchy; overworking will make your bagels tough, so treat it with a light hand.
- Divide and shape the bagels:
- Cut the dough into four equal pieces, roll each into a rope about 7–8 inches long, then pinch the ends together to form that characteristic bagel ring.
- Apply the egg wash and seasoning:
- Beat the egg in a small bowl, brush it over each bagel until they're glossy, then sprinkle the everything bagel seasoning generously on top so it sticks to the egg wash.
- Bake until golden:
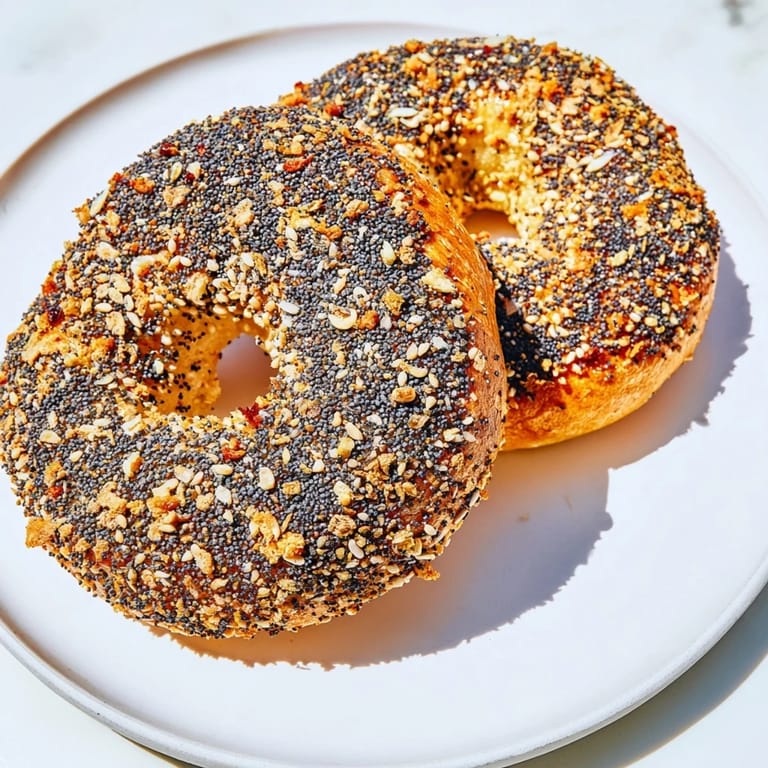
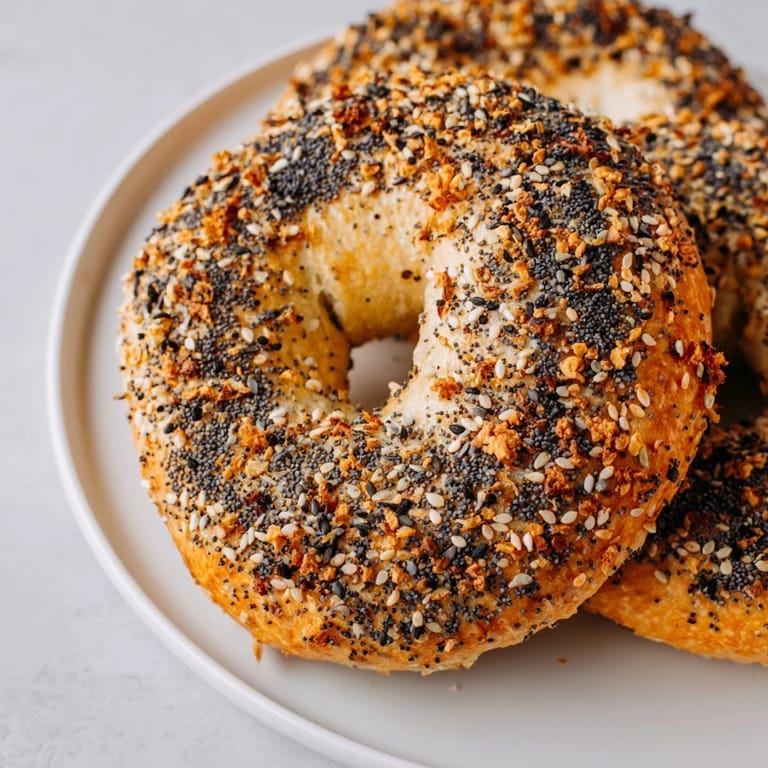
- Bake for 22–25 minutes until the tops turn a deep golden brown and the bagels feel firm when you gently squeeze them.
- Cool before serving:
- Let the bagels rest on a wire rack for 5 minutes, which lets the crust set and the interior finish cooking slightly from residual heat.
 Pin it
 There's a moment in cooking that happens right when something transforms, and with these bagels it's about two minutes before they come out of the oven. The kitchen fills with this warm, toasty aroma that somehow smells both homemade and professional at the same time. It's in those moments—when the house smells this good and you know fresh food is minutes away—that cooking feels less like a task and more like a small act of care.
The Magic of Two Ingredients
What struck me most about this recipe is how two simple ingredients—flour and yogurt—create something you'd normally expect to take hours and special skill. There's something liberating about a recipe that doesn't require yeast knowledge, temperature management, or a bulk fermentation phase. It changed how I think about quick breads; they don't have to be dense or cake-like to be satisfying.
Customization Without Compromise
Once you've made these once, you'll realize how easy they are to adapt. I've experimented with different bagel seasonings, added fresh herbs to the dough, and even made a version with everything bagel seasoning mixed right into the dough itself. The base is so forgiving that you can treat it like a canvas for whatever flavors you're craving that morning.
Storage and Second-Day Life
These bagels are honestly best within the first few hours of cooling, when the crust is still crispy and the inside is perfectly tender. If you do have leftovers—which is rare in my house—pop them in an airtight container and toast them the next morning before adding your spreads. A quick 2-minute toast brings them right back to life and actually creates an even crispier exterior than the first day.
- Store leftovers in an airtight container for up to 1–2 days to keep them fresh.
- Toasting yesterday's bagels for 2 minutes gives you a crispy crust and warm interior that feels almost freshly baked.
- Freeze extras in a freezer-safe bag for up to a month, then thaw and toast before serving.
 Pin it
 These bagels have become my answer to those mornings when I want something special but don't have the time or patience for elaborate baking projects. They've earned a permanent spot in my breakfast rotation, and I suspect they'll do the same for you.
Recipe FAQs
- → Can I use all-purpose flour instead of self-rising flour?
Yes, replace self-rising flour with all-purpose flour plus baking powder and salt to mimic leavening.
- → What makes the dough chewy without yeast?
Greek yogurt and self-rising flour create a tender, elastic dough with natural leavening, eliminating the need for yeast.
- → How do I apply the everything bagel seasoning?
Brush the dough with egg wash before baking, then sprinkle the everything seasoning generously for a flavorful crust.
- → Can these bagels be stored and reheated?
Store in an airtight container for 1–2 days; toast before serving to refresh texture and flavor.
- → Are there dairy-free alternatives for this preparation?
Use plant-based Greek-style yogurt and confirm flour is dairy-free for a suitable dairy-free version.